Talachas Geek Jewelry: Dualshock 2 (PS2 Control) Well folks, after a long absence, I'm back (As if anyone would miss me).
this time Let me show you this new section called "Talachas" where we will show how they can be serviced and maintained to things that are under our belt. Today we talk about the Dualshock 2, which is the original PlayStation control 2 (I assume that the PS1 Dualshock Sixaxis PS3 or similar, with obvious differences such as Bluetoth and lack of cable). All this is to me a control that is passed around and obviously found it was all mother, so I decided to fix it for me popi fun, but something which is no surprise, google repair dualshock 2 and will leave thousands of hits, but nothing useful; you go to all links and comments you find yourself in the forums that say "Better buy one again" or "What I do is throw it away and go" or "Do not even try to disarm because you can not re-arm." Frustrated by the lack of information and one of two, or the stupidity of people in the forums, or the asshole of one who knows do and do not want to share. So I gave the task of experience and got good results, the procedure will be public for anyone who wants to use, just ask other than porridge and give me credit, otherwise I do not care if they open their service centers or I posted on the forums, the more people know how to do this, the better. Well, get to work!

What we need:
damaged control - Our
- A fine-tipped soldering iron
-
- Welding Clamps
- digital multimeter
- phillips head screw (cross it) that fits Screw the screws
- plan to help
- Spares be needed replacement
- fuzz conduct and rules
- tape or extra hand when needed.
- A PS2 or the famous adapter to connect the remote to the PC for testing (but the adapter should be, because so what monitors from the properties screen gaming device in the control panel)
- very, very patient
First of all we must identify the fault. If the buttons are sinking, if not respond, if analogues are failing, because depending on this will be what we need to review. To help we can use the adapter and test it using properties. As we shall see, this deprives control buttons.
Dismantling
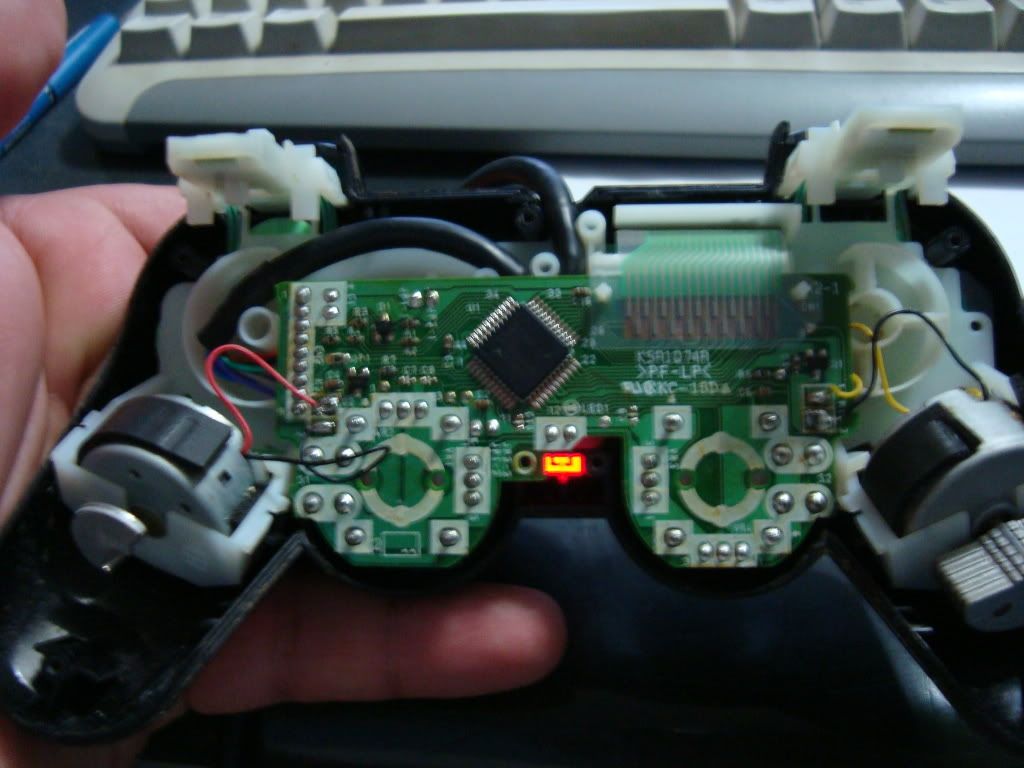
We took our control, it turned around with the buttons down and we can see there are 6 screws, let's remove the screwdriver:
Well, we can find two things. If your control is original you can find something like this:
pyre
If something like this instead:
very very pyre If this can chafer lot more, but it is better to repair if original, and yes they are affectionate. Let's focus
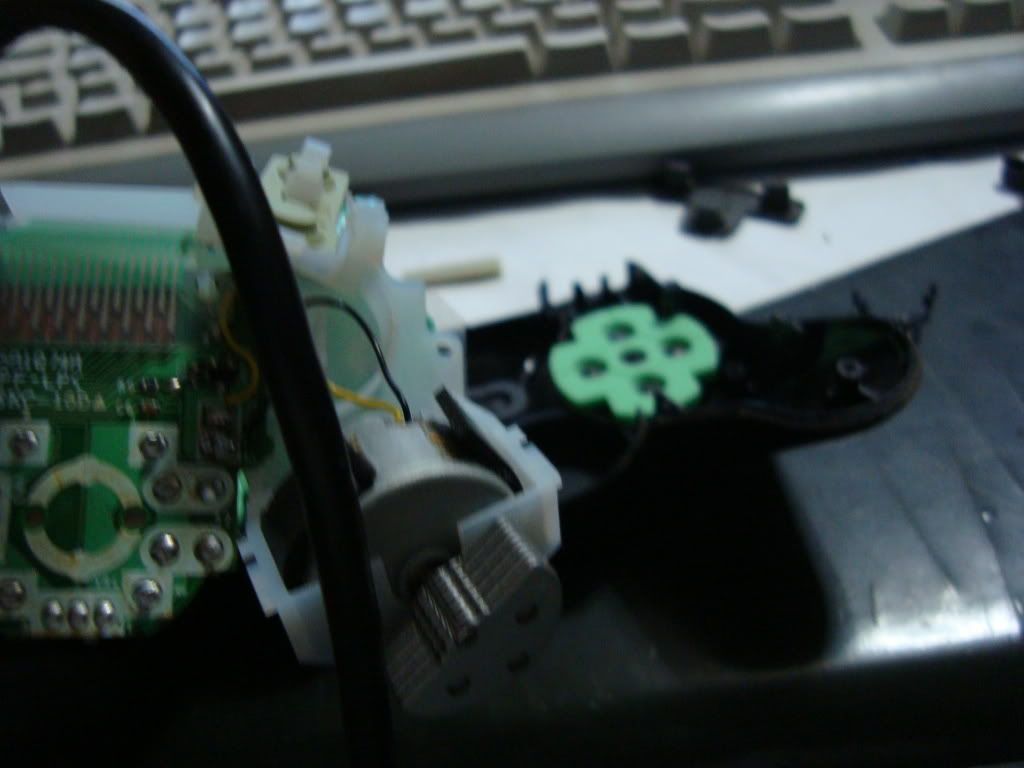
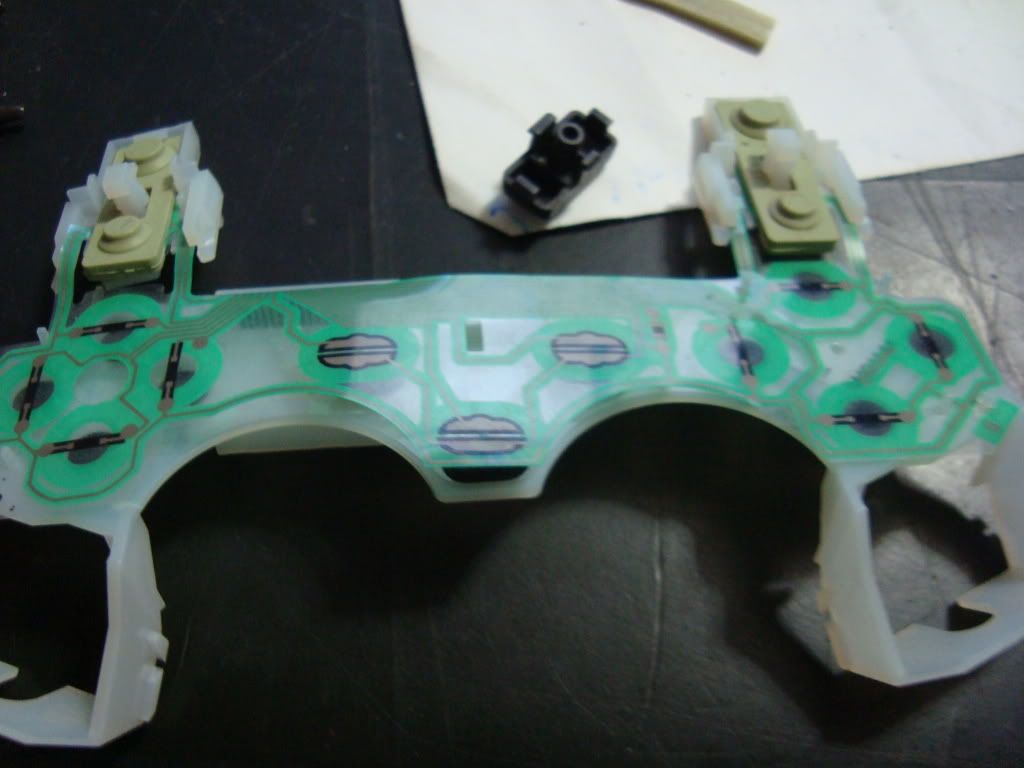
al control original, algo que me llamó mucho la atención, es que tenemos esta membrana que se daña con facilidad, y que chafamente no esta sostenida de la parte de la placa mas que con un par de pivotes que medio la atoran y con una gomita que la presiona (la gomita esta montada ne la tapa trasera del control).

Hay que desmontar ese armazón blanco con cuidado de no voltear la tapa donde están los botones, no queremos extraviarlos (y entonces sí estamos fritos, ya que dependiendo de la versión de tu PS2, Los botones entran en goznes diferentes, en el caso de este control, los botónes Triangle and X are Y-shaped hinges and Circle and Square are Z-shaped hinges (hinges Another command was in the form of T)).
Repairs:
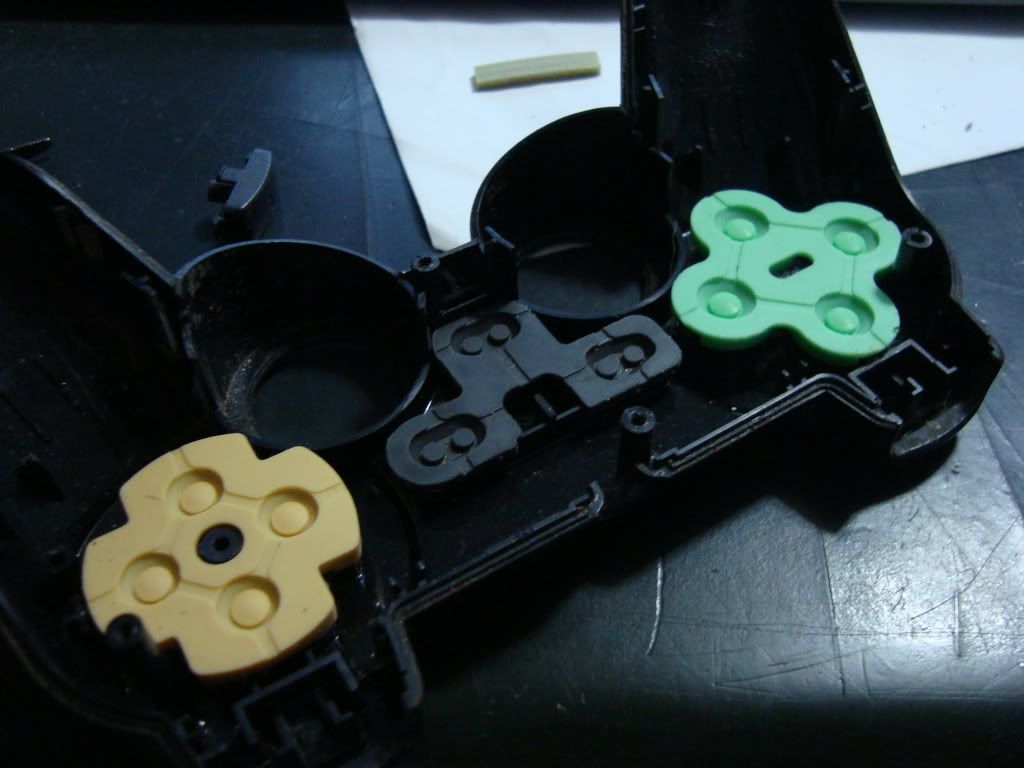
Let the electronics side with a lot worse very careful because we might break the power of force feedback motors (ie the vibration) and would have a problem. Let's review some of the buttons. Here we have some jelly beans that are both protective and springs for the button to return to its natural position after being pulsado.Si these are damaged, is possible that our membrane also.
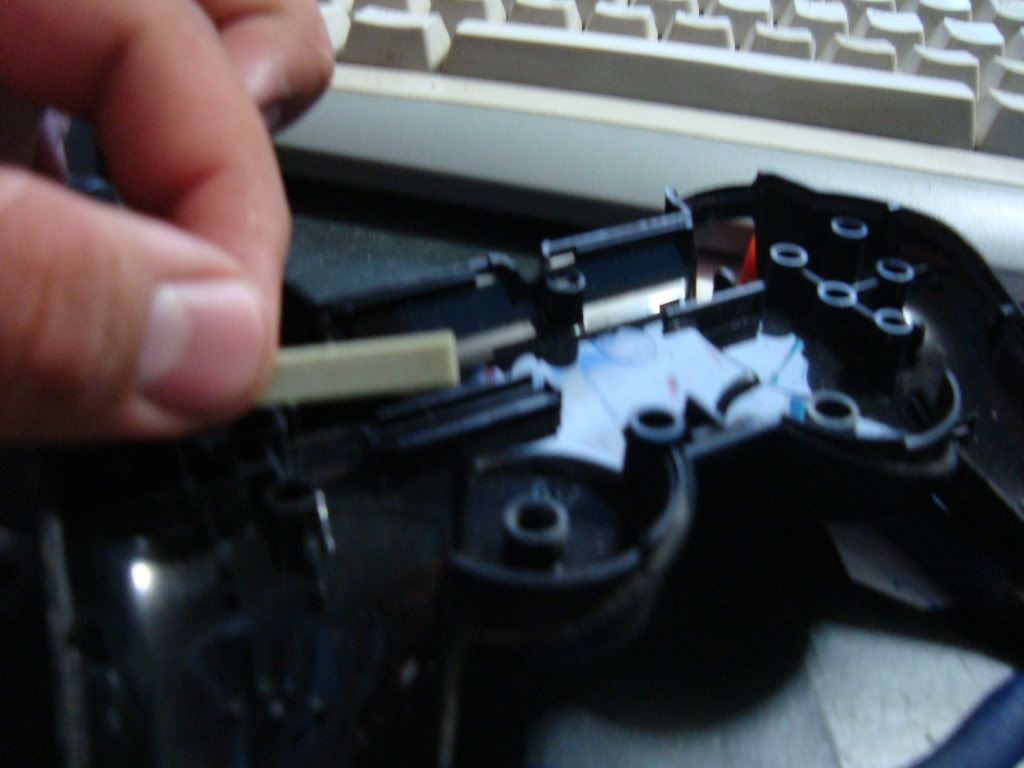
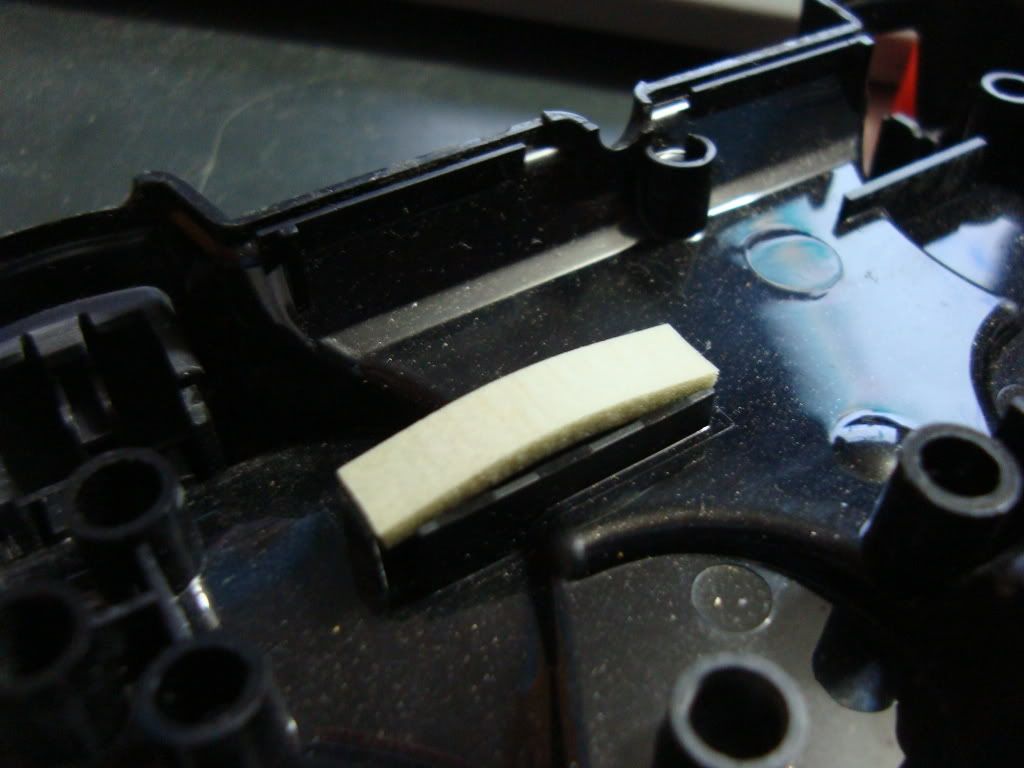
have to check that the handle (or would say Nintendo + Control Pad) there is this plastiquito:
If broken
it must be replaced (the pyres controls work well)
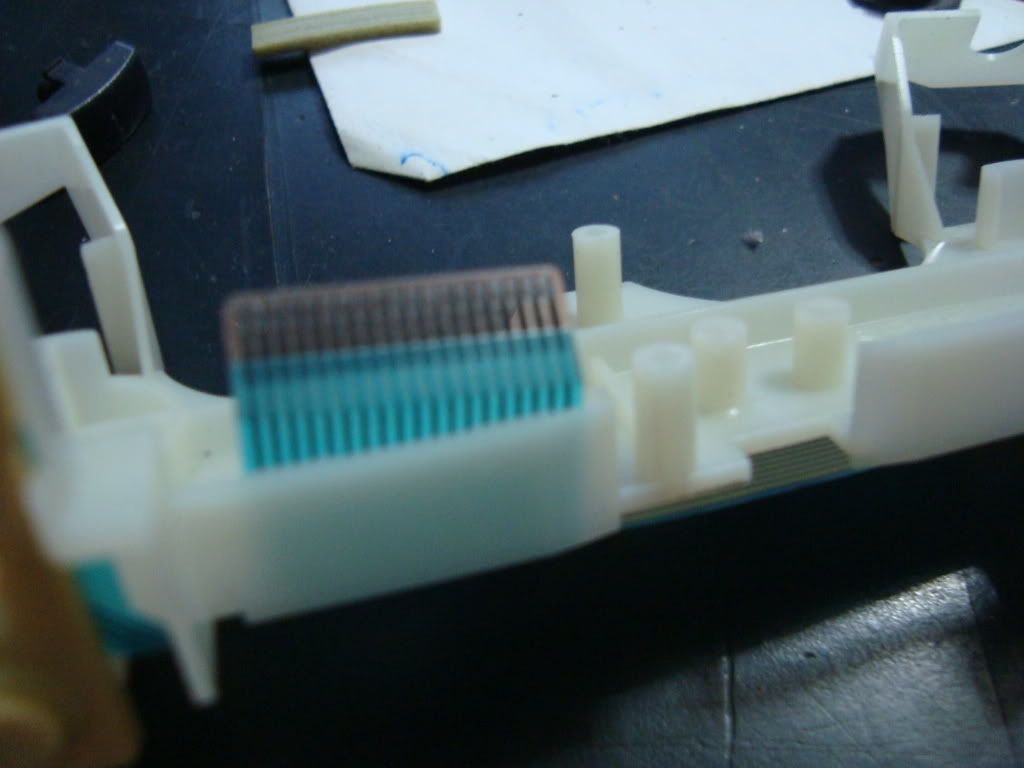
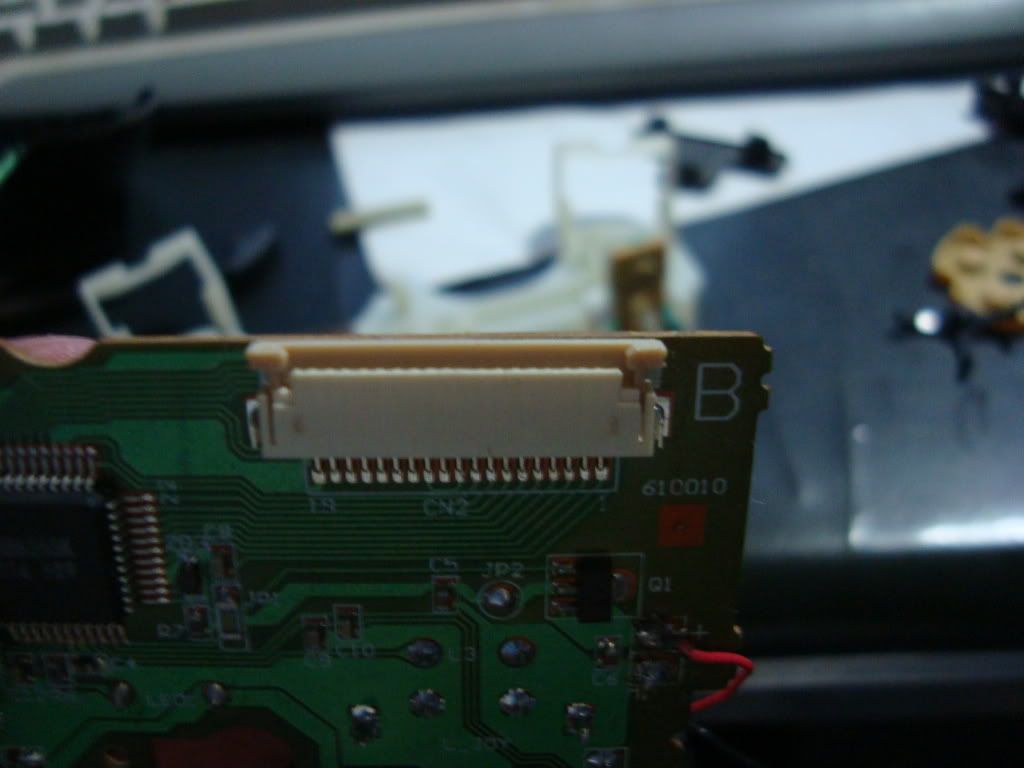
If the membrane is bent, or rubber bands are damaged, it is likely that there is no conductivity in the tracks of the membrane, for that Czechs in the multimeter (the settings in the 200k range in resistance or revise continuity) You must give similar values \u200b\u200bpunto.La entry point to the buttons is denied, so if you disconnected the membrane of the plate will look as if everything was down, as in the first figure. To repair it will need a conductive ink marker and go over the tracks with this (Please, do not be a beast and uses a rule, because you surely pulse will go down and short tracks).
may
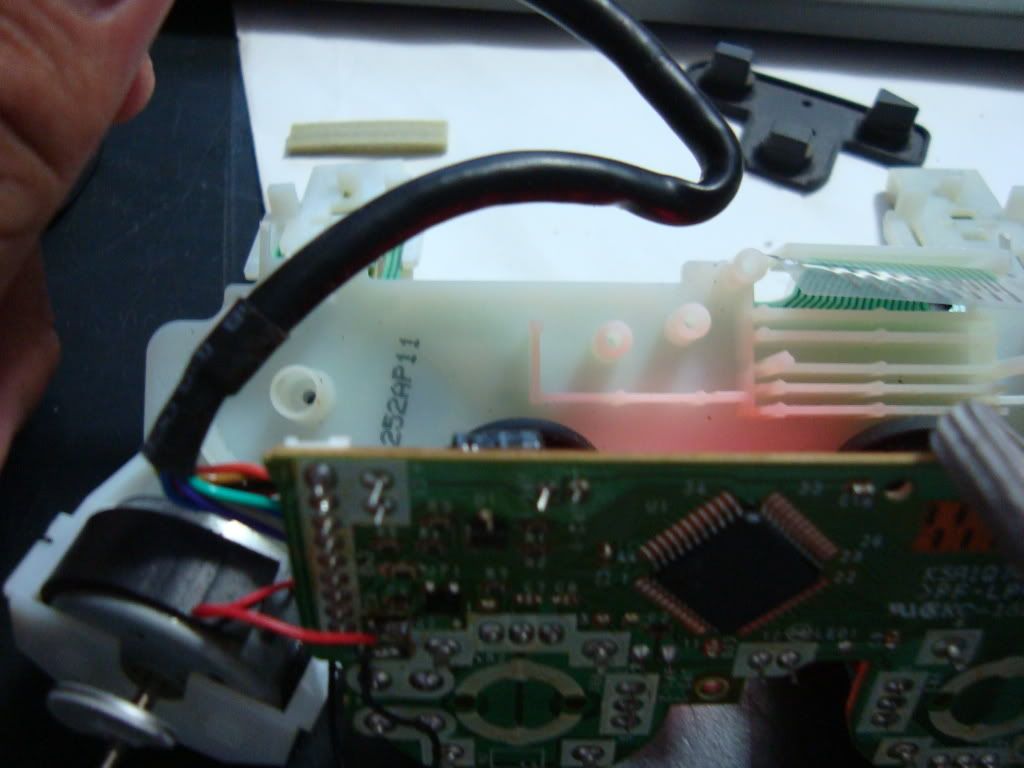
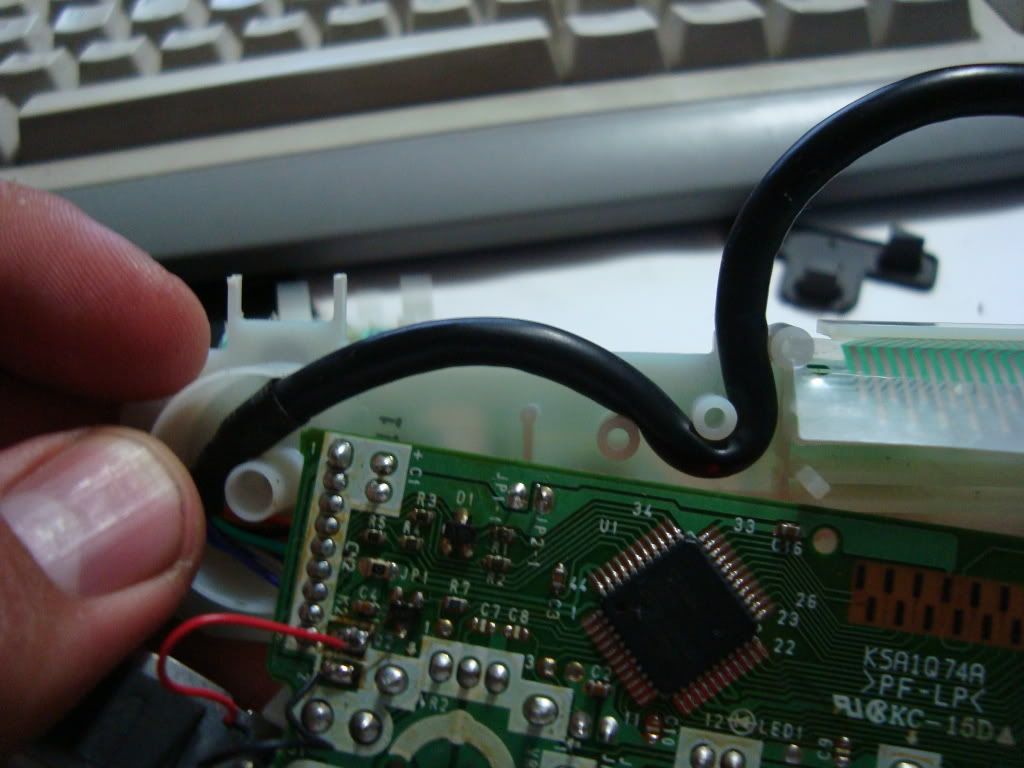
during disassembly, or that this is the problem that concerns us, force feedback motors are de-soldering of the plate where the like, these cables are very delicate and can easily be a mother for returning soldiers you must watch carefully where Each cable is color, and with little tin, tin the tip of the cable (previously pelaremos with pliers) and soldered to the board handled carefully from now on. Be careful not to burn with the iron! It is quite painful and will require subsequent precision as.
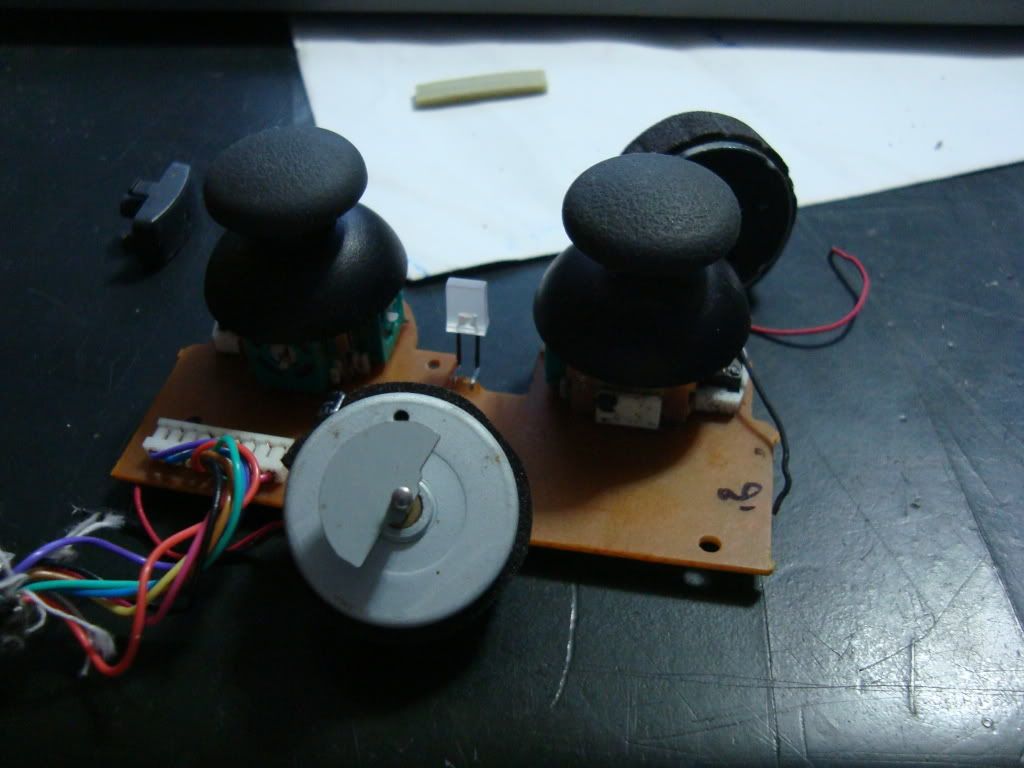
If it does not serve you is the analog, you should use the soldering iron to desolder all points similar to the plate, and repeat the command you have other parts and put it in place of the val- we will be replacing, as this piece is very difficult to repair alone will not exhausted us going into details. Return to weld, but remember to make a diagram, to show you the correct position of the analog, because if it gets badly need to correct (or adjust to playing with the changed positions.)
Assembly:
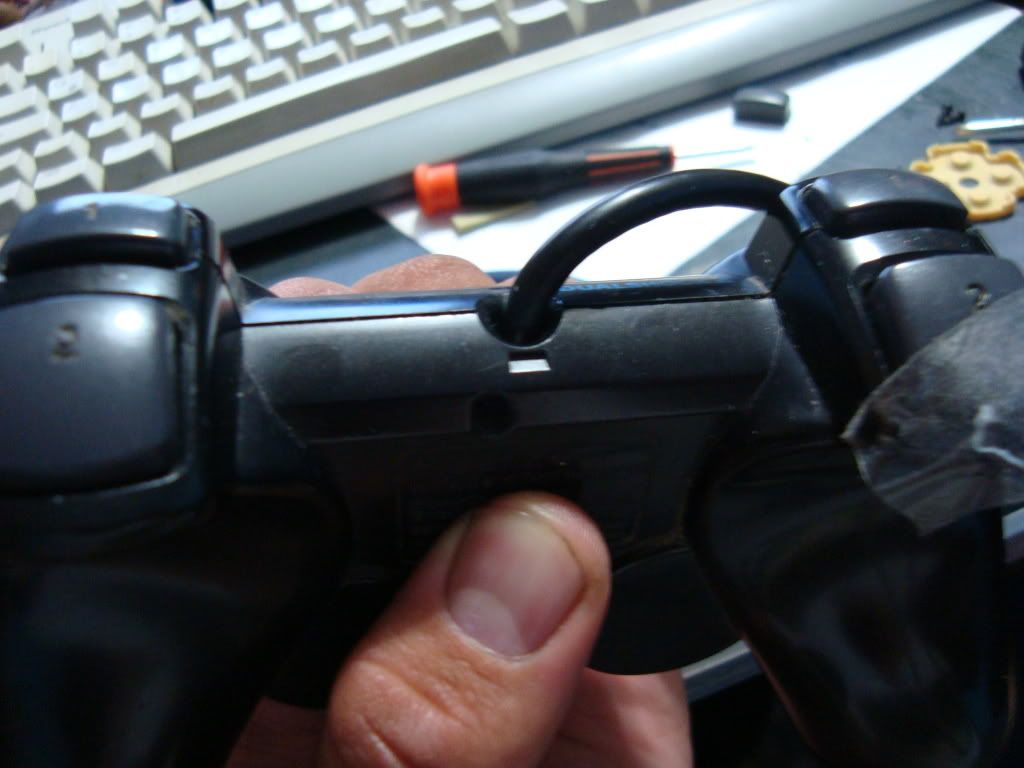
Well, we repair our control, mount it, replace the cable as shown in the figures in the white frame.
Enzymes match plate pivots, poscicionas force feedback motors in place and ensure mintaje over the top with buttons upside down (you can do the opposite if you want, but believe me that is much more difficult because the buttons will fall by gravity). Then qye What does it matter either, you put the L1 and R1 buttons first, then secure the membrane where it goes into the track that has the command for this purpose and with a screwdriver you make sure you enter it correctly so you will not fault. You should feel normal pressure and be secured to put this part of the frame.
Then place the rubber band on the other cover.
We put the buttons L2 and R2, ensuring tape and the other with your finger so that between it, inserting the frame where they are the L and R and between well with the button.
When we return to tighten the control carefully so as not to disrupt or break for forazarlo.
At the end, we already have working control assembled and ready for more you challenge and action.