Today
So once again gave me the task of experiment and get happy results, the procedure will be public for anyone who wants to use, just ask than porridge and give me credit, otherwise I do not care if they open their service centers or posted on the forums, the more people know how to do this, the better. Well, get to work!
What we need: PSP damaged
Our
Clips (The hair removal is very suitable) digital multimeter
phillips head screw (cross it) that fits the screws
blade screwdriver to help if needed Parts substitution (the screen in this case)
Charger or have enough battery to be tested.
very, very patient
First of all because this tutorial is specific failure, the screen is not visible. And three, or the LCD screen broke or crashed (due to a strong impact as a fall) and is the star in place of the image, or have dead pixels lines or plane can not see anything. In any case it is easiest to replace the screen, but in the second case, a method that we will see later, and you can save your current screen to end up in the recycle bin:

In this case we orient the PSP 2001 is the model I have, the method is the same for all model PSP 2XXX, and very similar to the PSP and 3xxxx 1XXX (That is, the more fat and slim again.) However, they should be the PSP's Go, since I have no one to hand.

 1XXX 2XXX 3XXX
The screen must be purchased should be your model, most of all by the connector. Removing
First of all, you have to check the version of our PSP, because depending on this, if the model is 1XXX (The fat, the first model) or 2XXX (First Slim almost all are black) or 3XXX (Second Slim Many are in color) will have to get a proper screen, because the connectors are different. You can see this by removing the battery, where a stamp that says which model you bring:

We take our PSP, it turned around with the buttons down and we appreciate the existence of 4 screws, two on the top opposite the battery, and two under the battery (possibly one not see because it is under a picture that is the hallmark of security which must be violating order do the repair) let's remove the screwdriver:

Then, in the "Bottom" (If we consider that where are the L and R buttons would be the "Superior") is a screw again, there be removed as well.
Similarly, there are a couple of screws next to the USB, in fact flank it on the same silver band.
After using a little skill and brute force, but taking extreme caution we separate the PSP covers, leaving his guts out. You have to keep me out for little buttons (they do not fall as easily as those of the controls, but would be very unfortunate to lose)

Now to access the screen and connectors must be removed carefully the bar where the volume and Select buttons, Start and Home Since they are connected like the screen by a "cable" flat flex those who are fragile, if it is damaged and will not respond those buttons. The same goes for the screen.

Once we remove, we make it down, and can bring down the screen to reveal the place where is embedded, as below this are the connectors. The thickest we remove with a flathead screwdriver and nut coffee raise and flex free itself, the other helped us to remove the Tweezer.


Substituting the new screen, reconnect the cables to their connectors, so the skinny helped us tong:

We remounted:

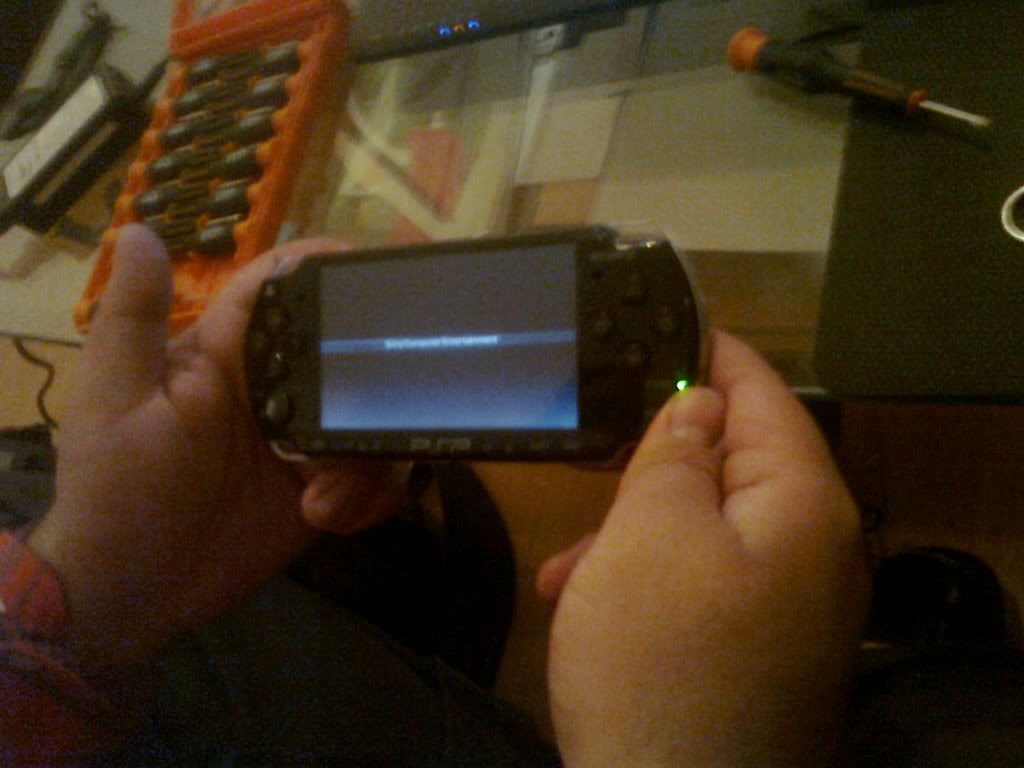
Before the screws, put the battery and verify that the new screen to turn serve, if not so, you can claim your warranty (it should do so after the purchase)
 If
If work, everything is happiness, so we ended the assembly:

And play. I hope this tutorial serves to them, photos are available murky because the camera was half jackal and more light. But give an idea.
Until next time!
0 comments:
Post a Comment